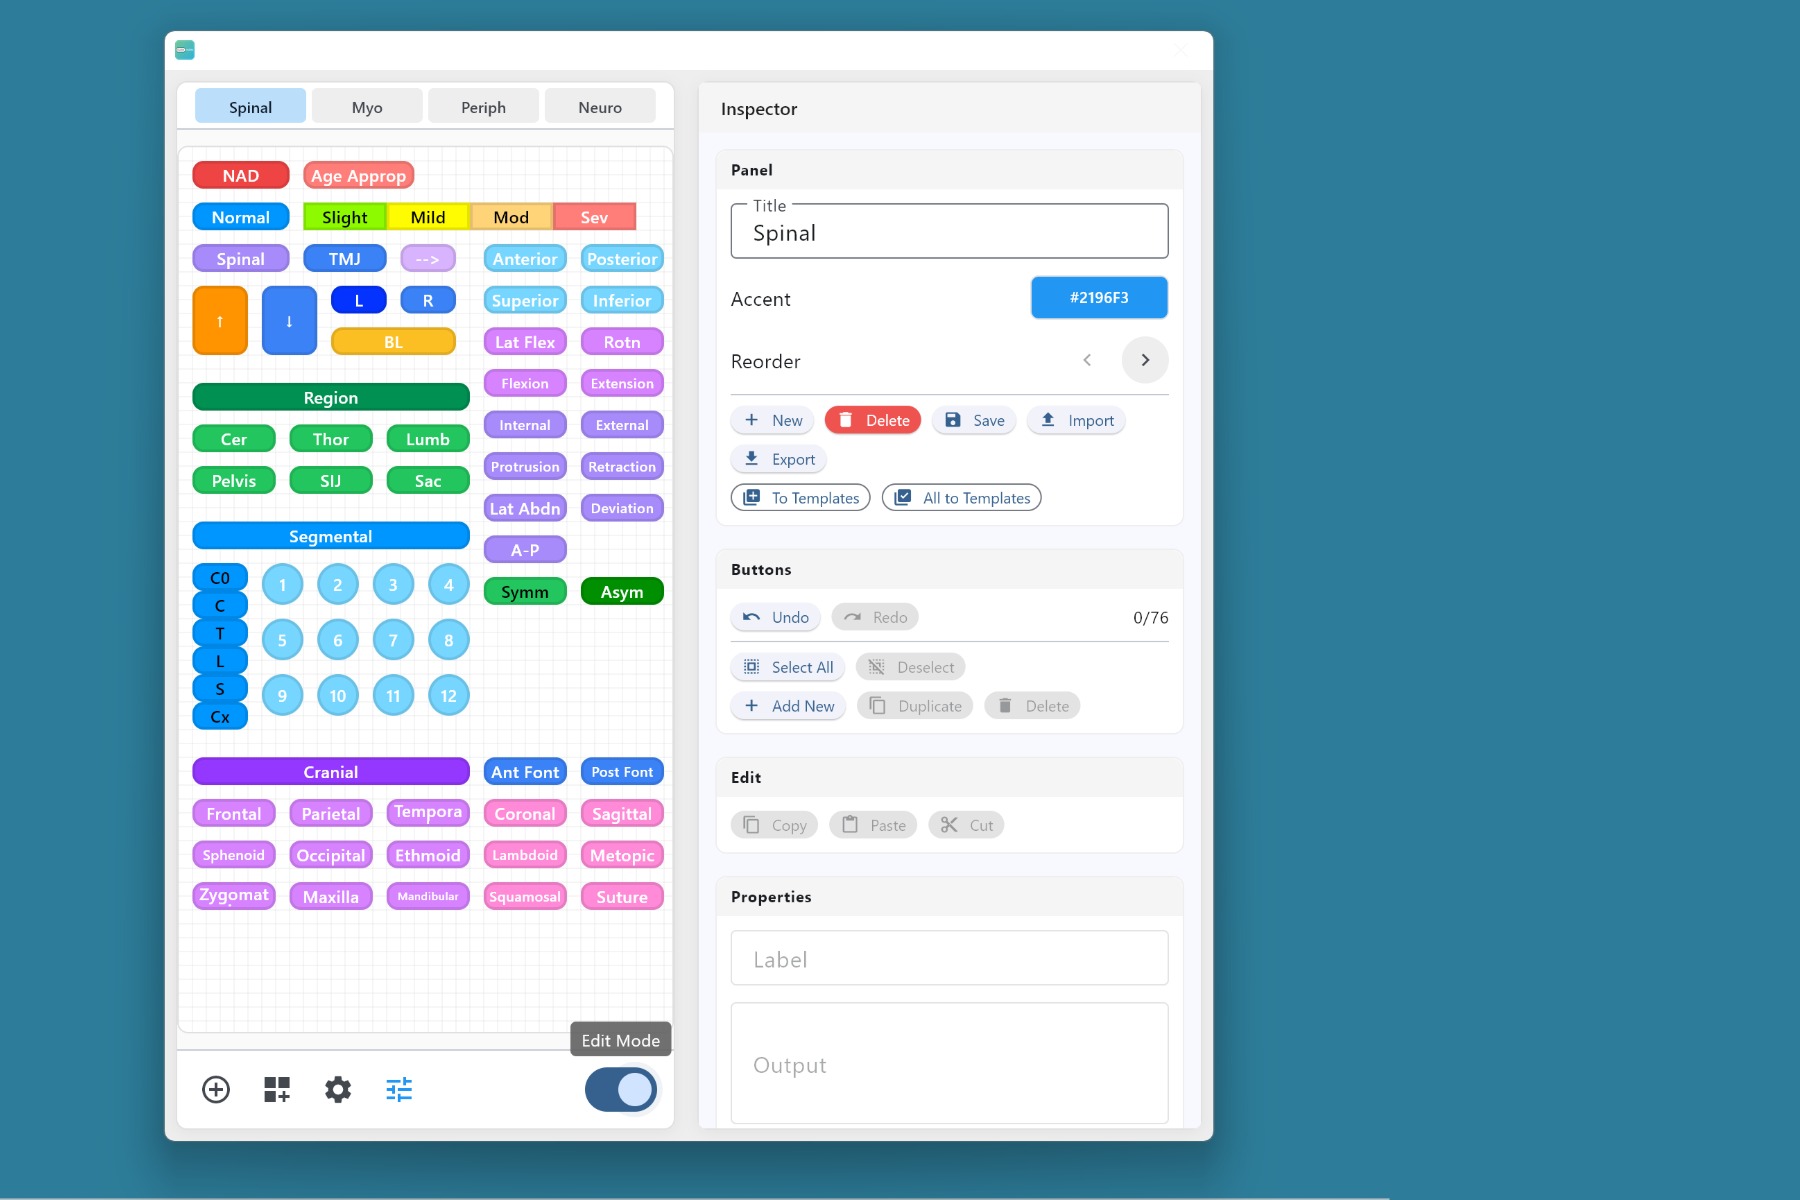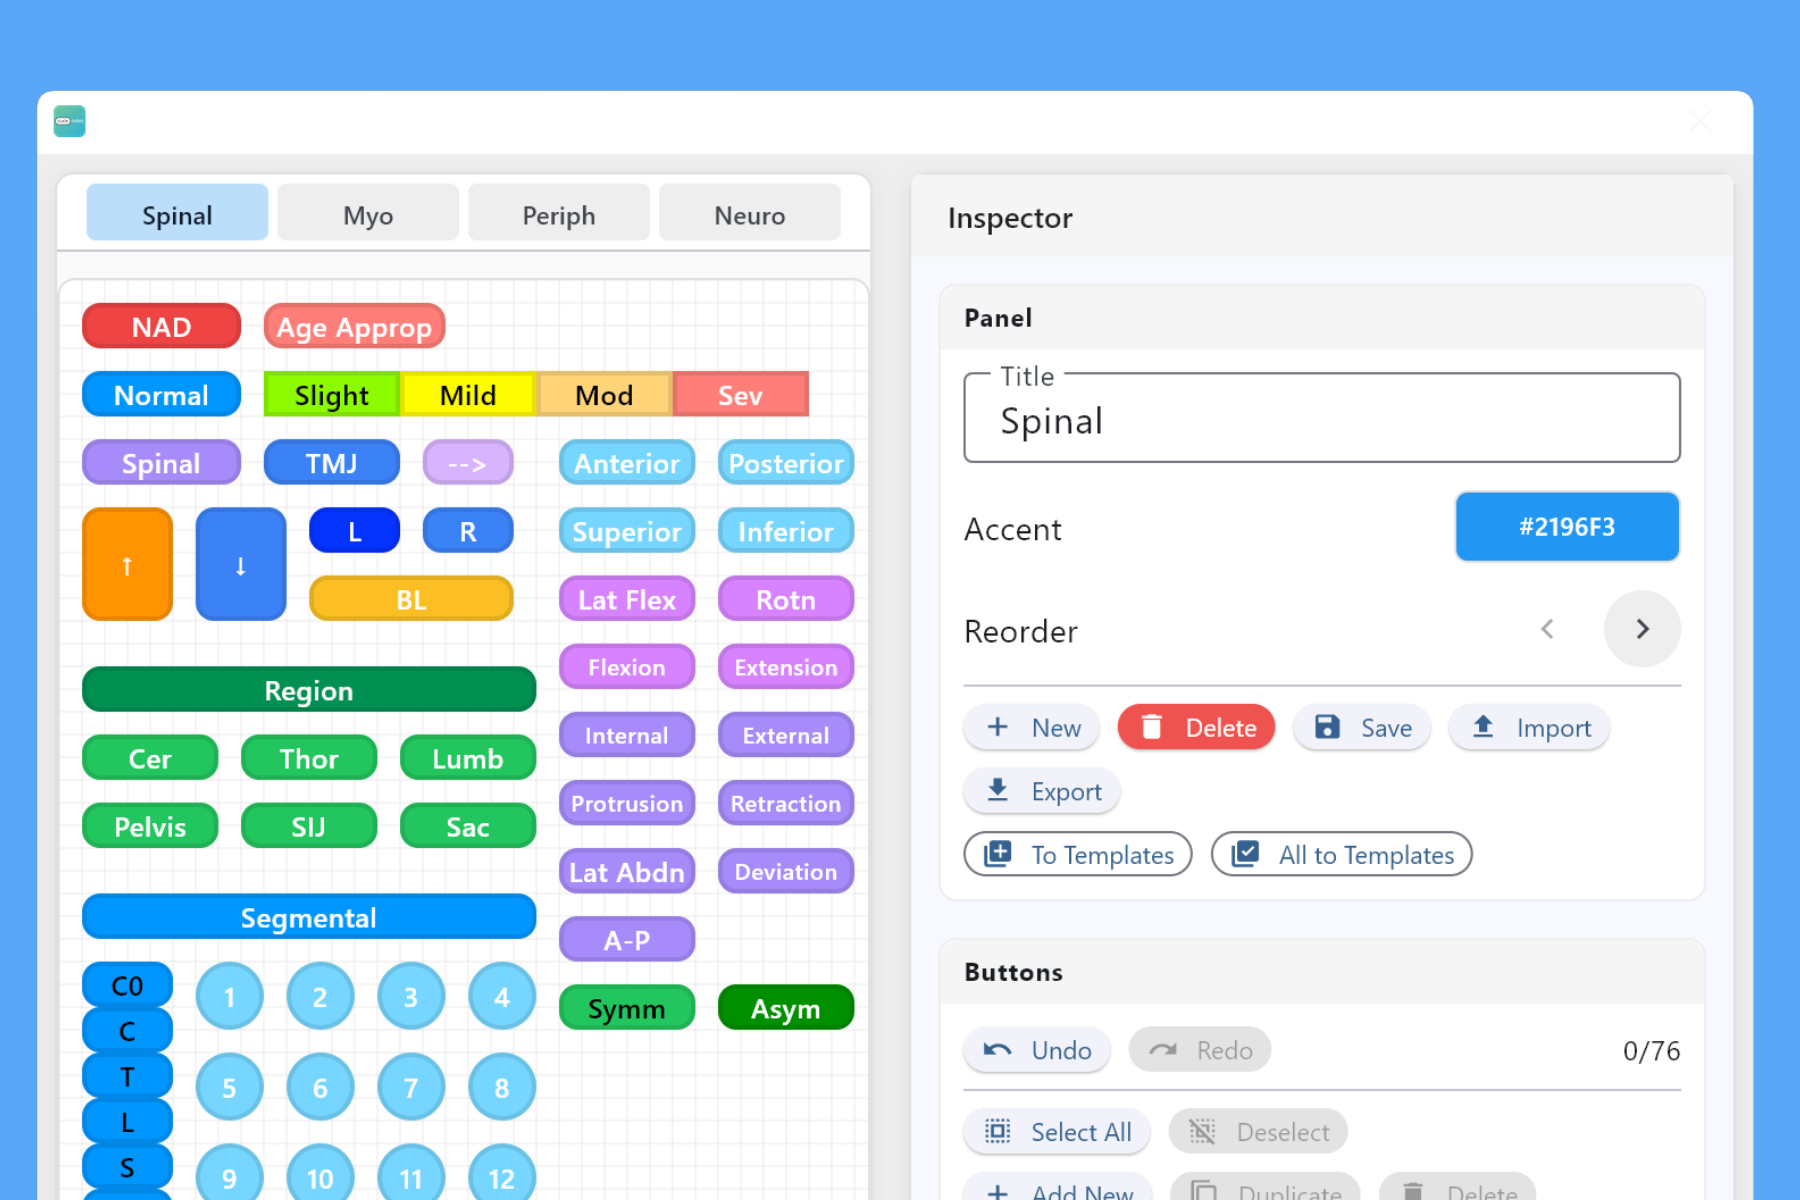
Main Layout
Learn the key areas of the ClickNotes window.
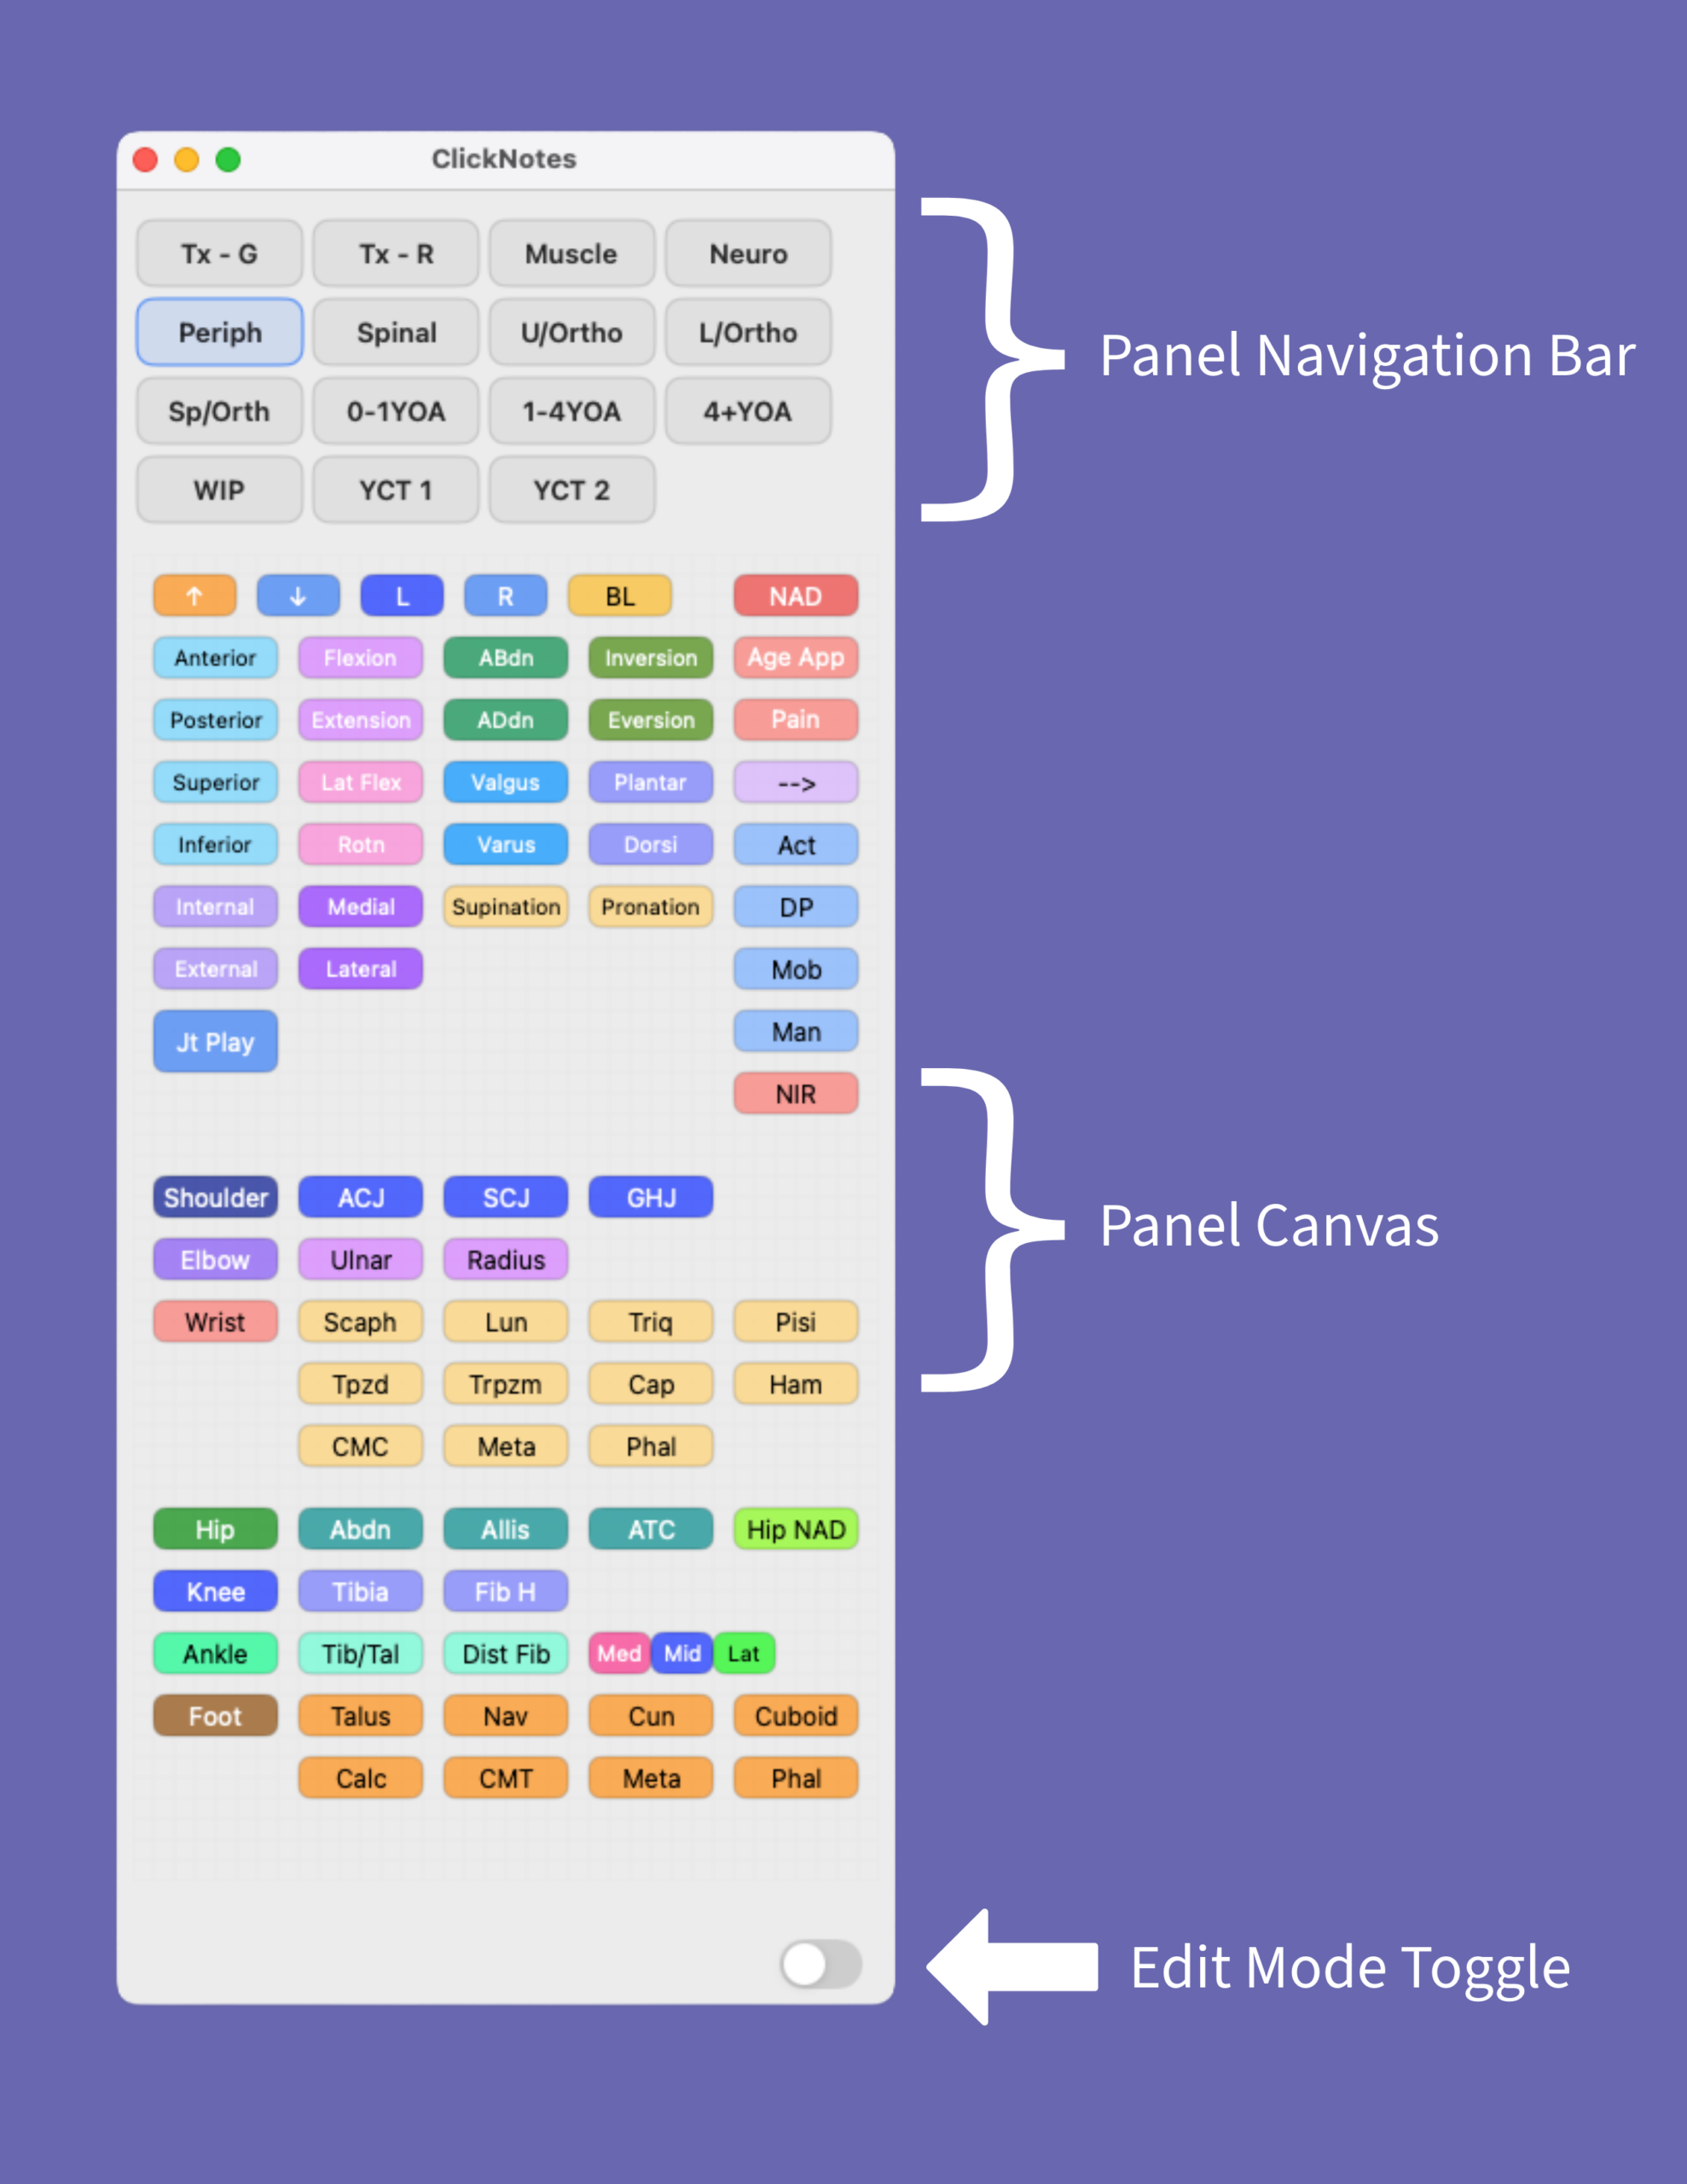
Panel Navigation Bar
At the top of the window, there is the Panel Navigation Bar. Each button represents a panel, such as:
- Treatment Notes
- Muscle
- Orthopaedics
- Spinal
Or any custom panels you create — simply click a button to switch between panels.
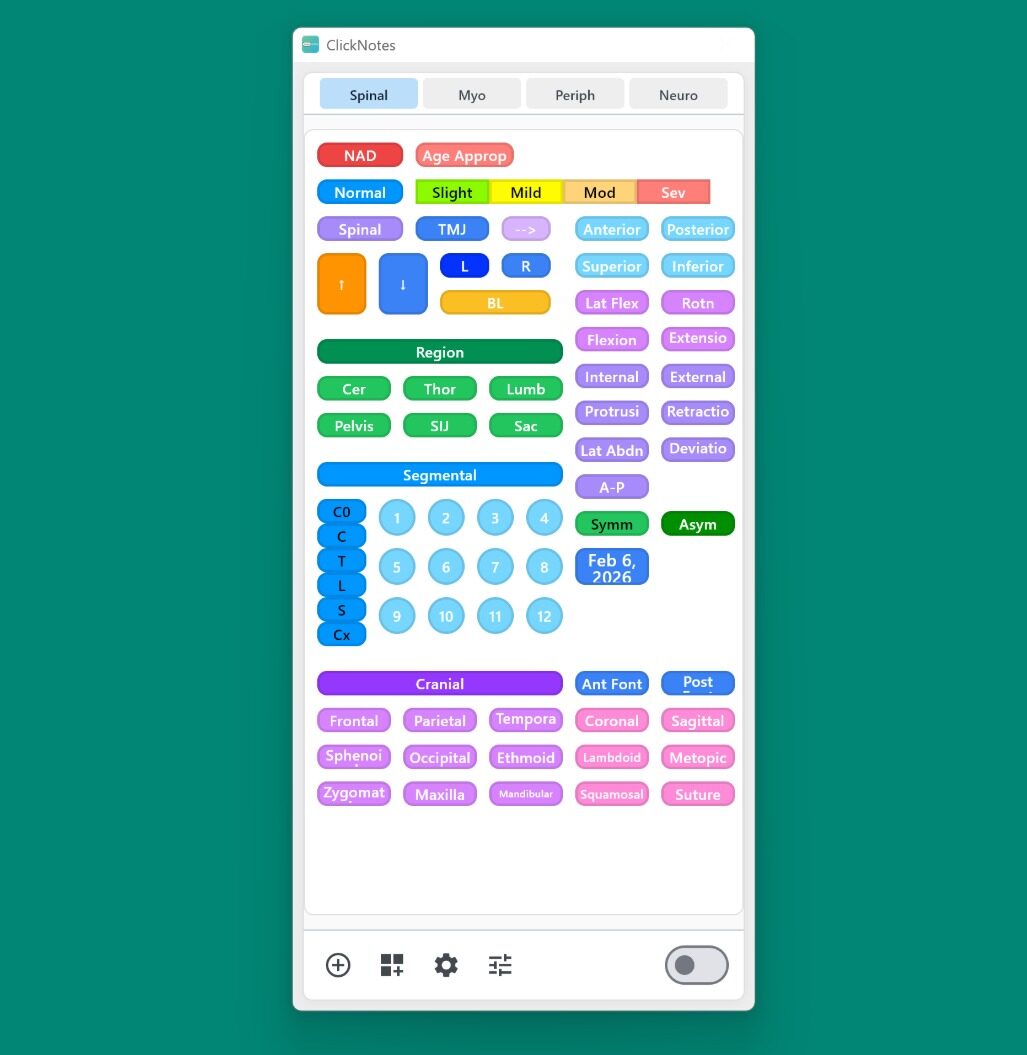
Panel Canvas
The large main area shows the current panel as a grid of buttons. Each button has:
- A label (what you see)
- An output string (what is typed into your active app when you click it)
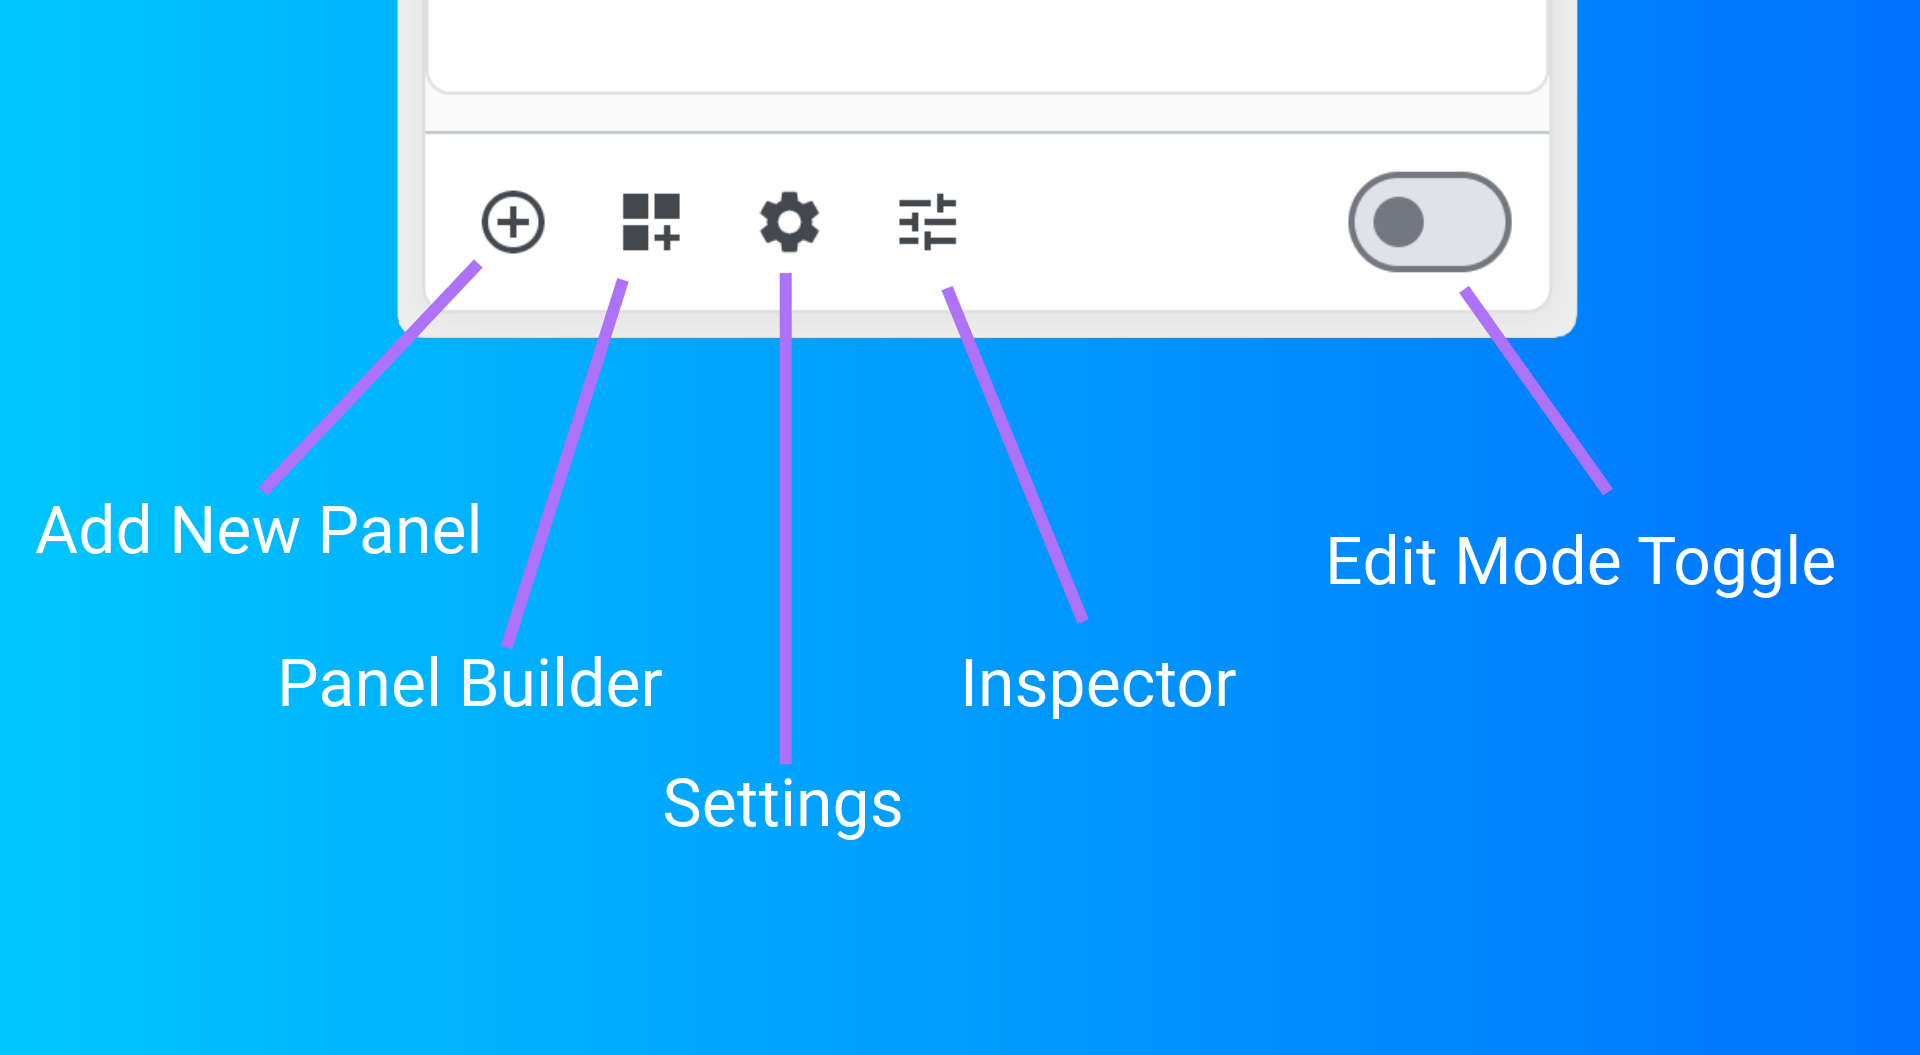
Edit Mode Toggle
A toggle switch at the bottom right lets you switch Edit Mode on and off:
Click the Edit button in the toolbar to toggle Edit Mode:
- Edit Mode OFF: Normal use — click buttons to insert text
- Edit Mode ON: Opens the Inspector where you can modify layout, create buttons, resize, drag and edit
Add New Panel
Click the “Add New Panel” button to quickly add a new panel to Clicknotes.
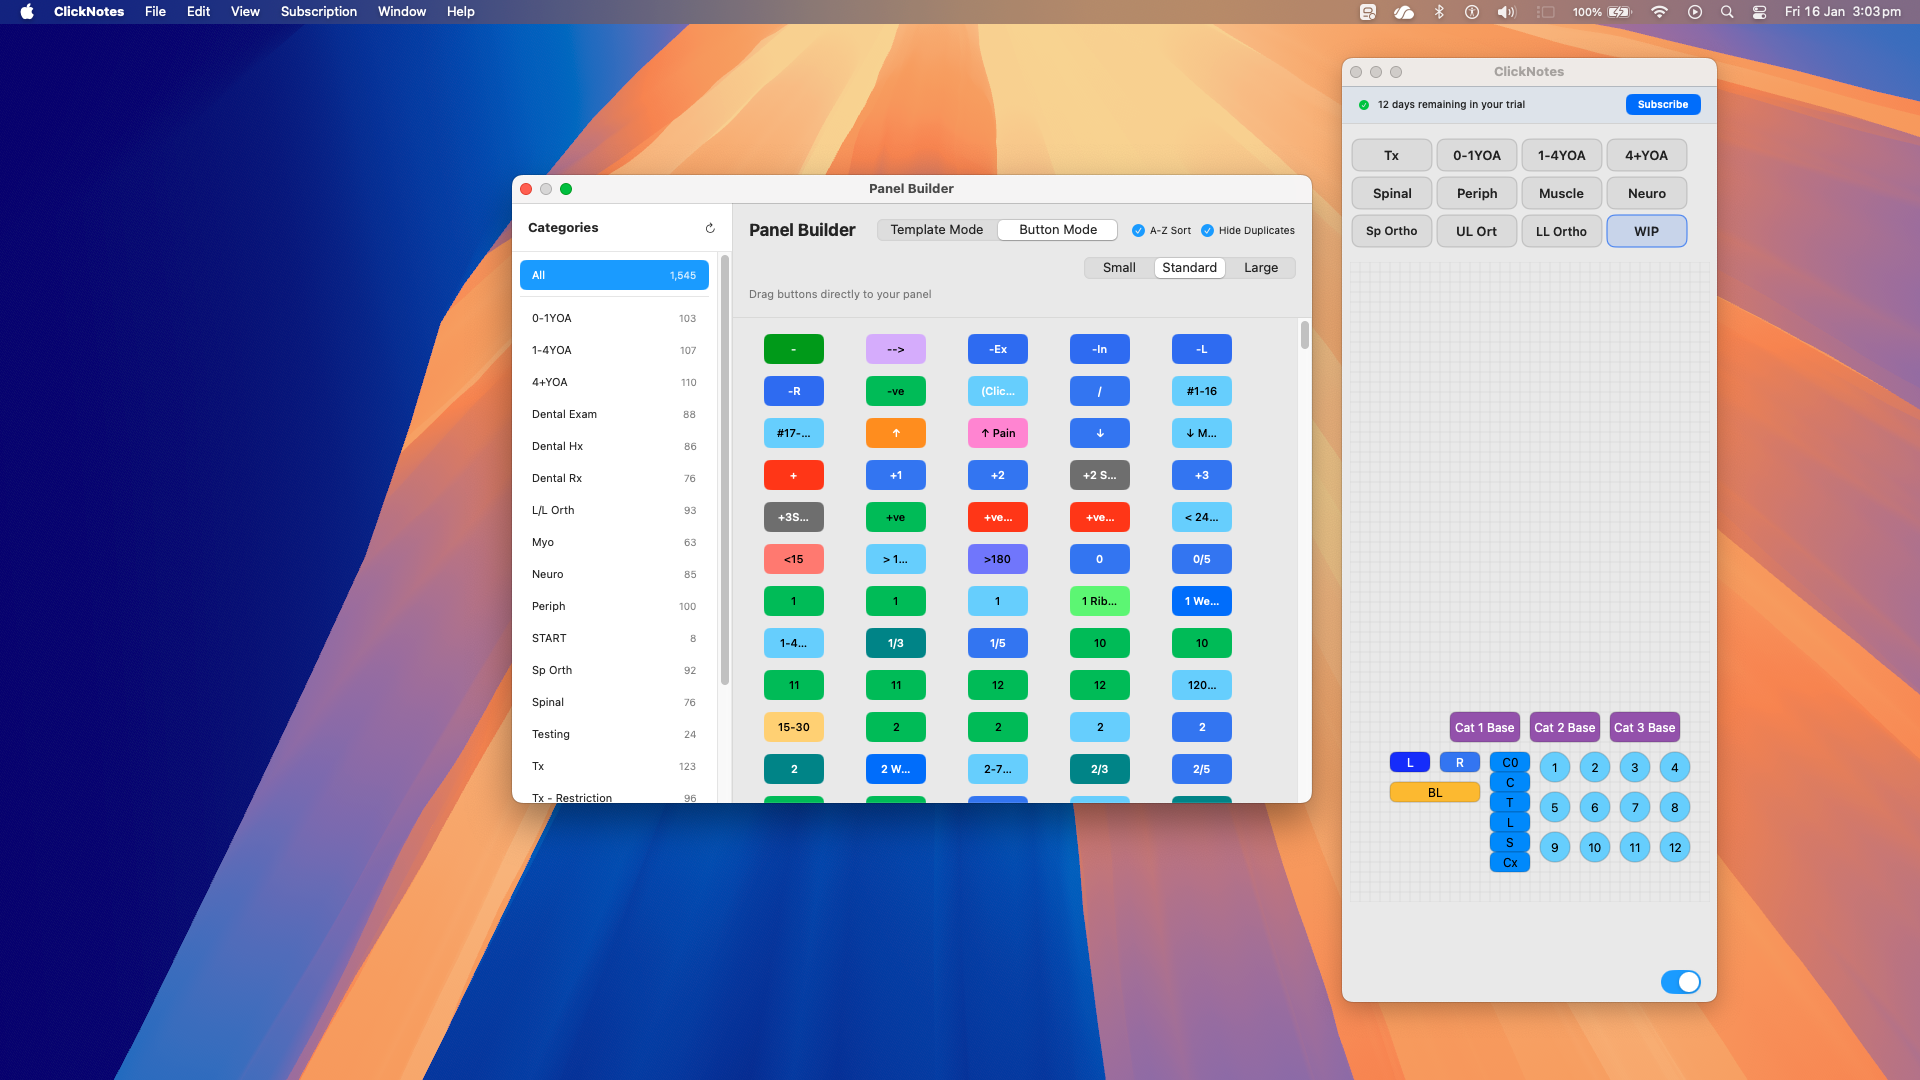
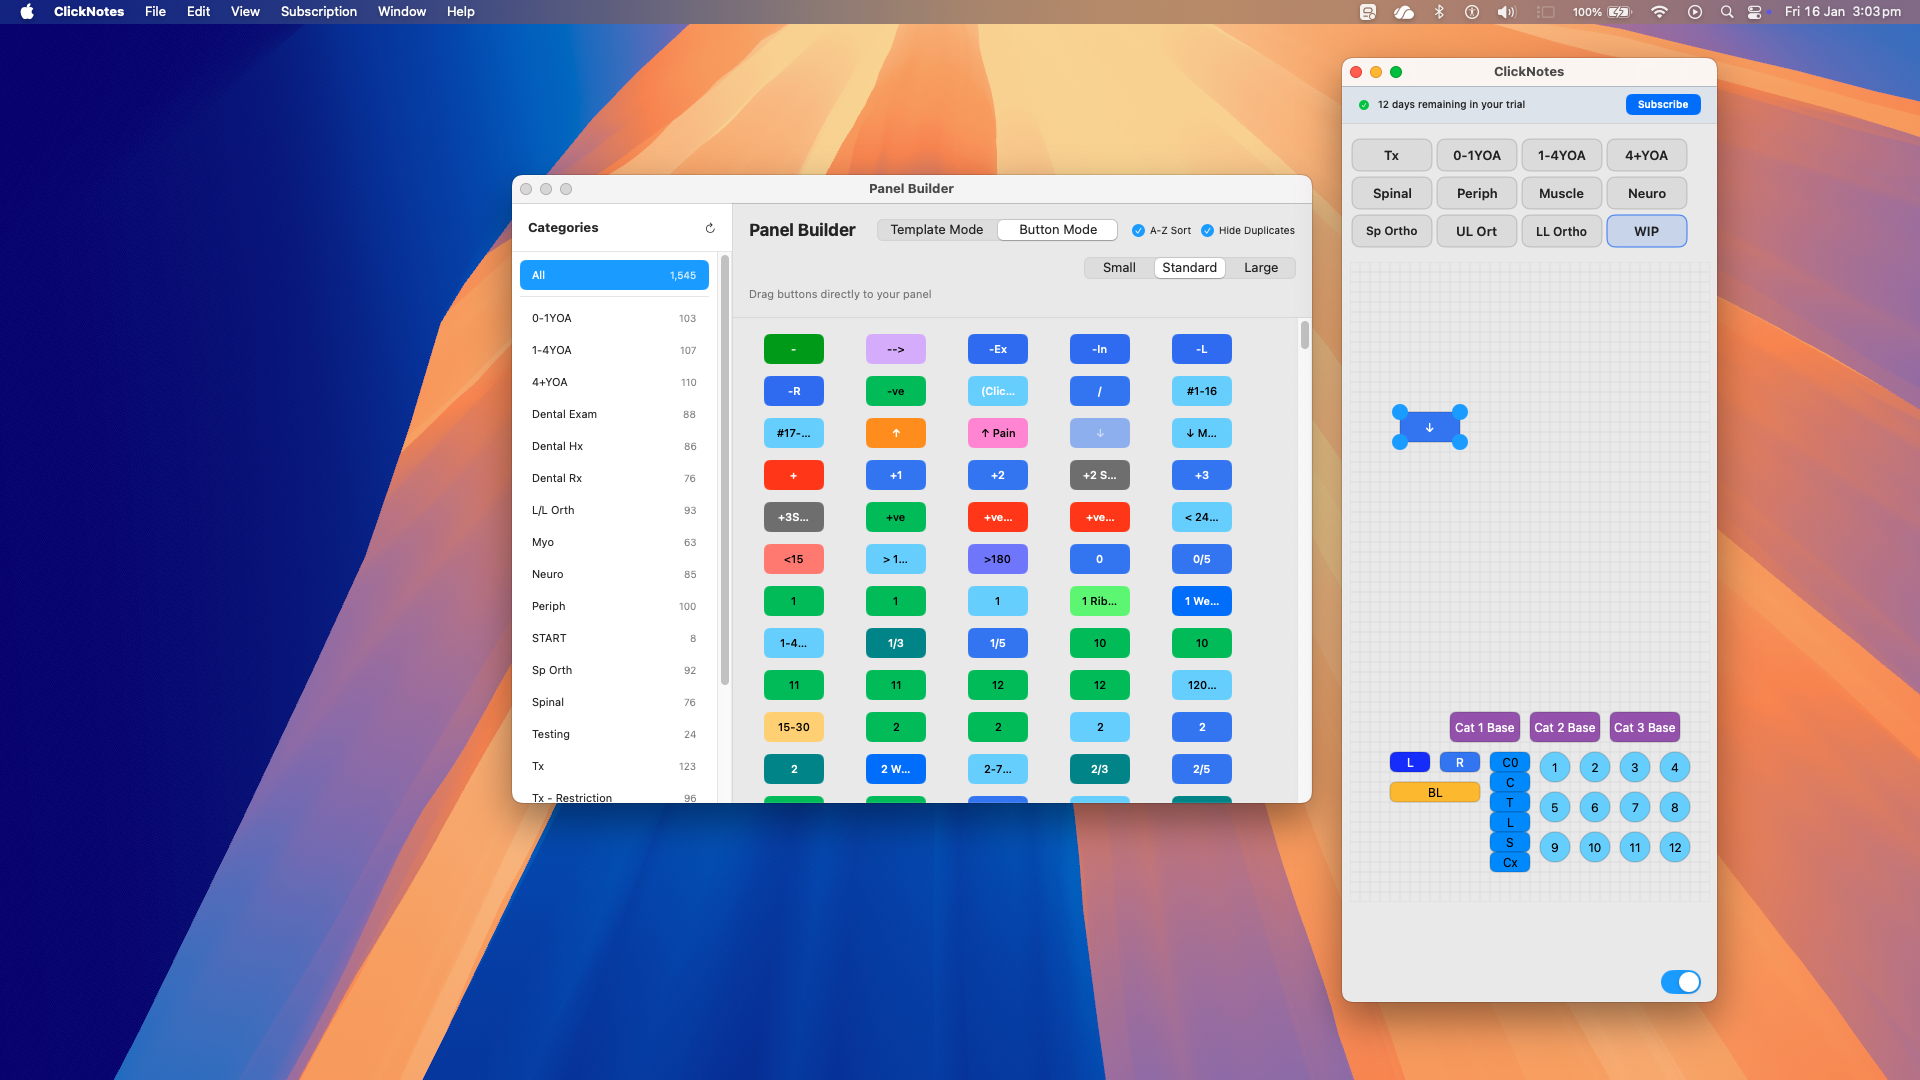
Panel Builder
Click this button to load the Panel Builder interface; a quick way to use your existing panels as templates to build panels in the way you want.
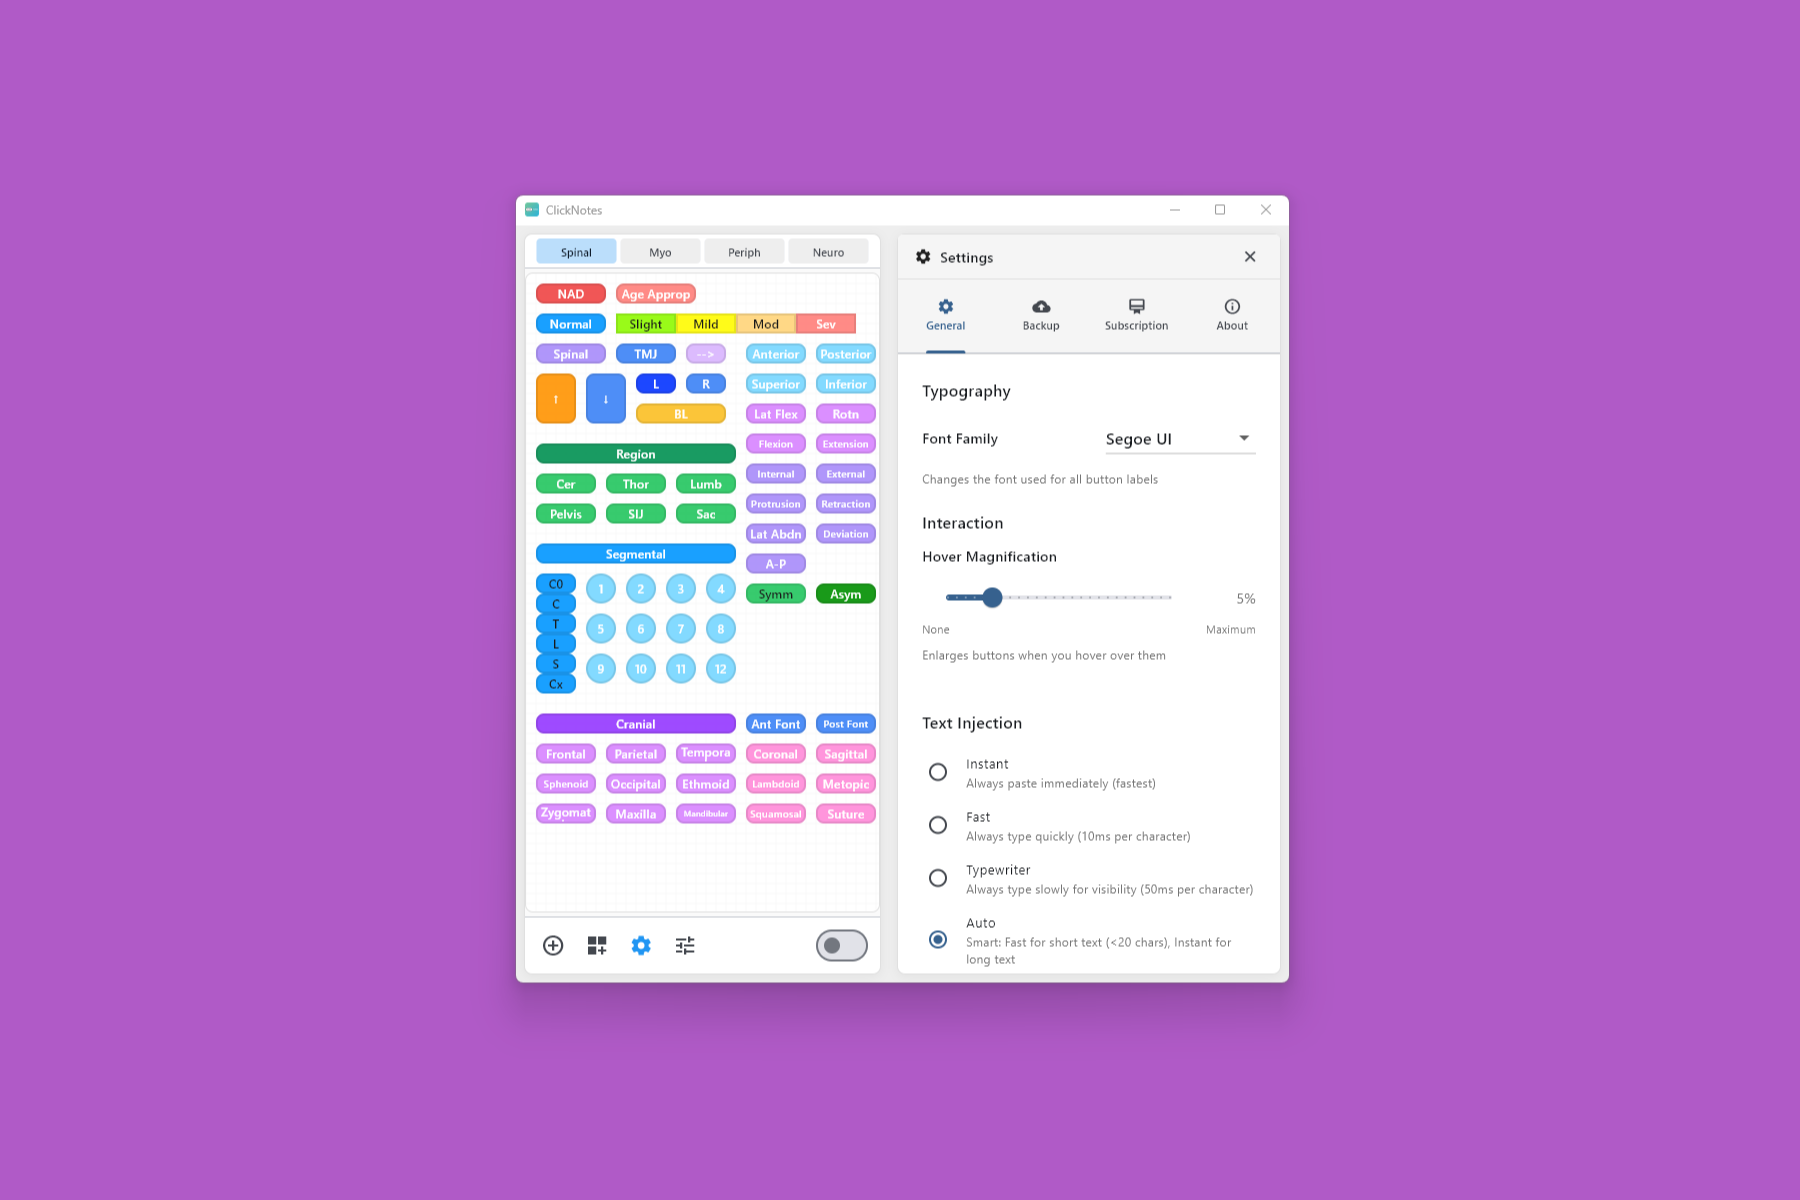
Settings
Click “Settings” to load the settings interface.
Inspector
Load the Inspector to change all aspects of your buttons; colours, sizes, shapes, labels, and output text.